Showing posts with label month 3. Show all posts
Friday, February 25, 2011

Month 3 applique for monster quilt


I have finished the month 1 monster (except for the small bits-I'm waiting for my mom to come and help me with those) and just finished the month 3 monster. I don't have a fancy machine (in fact, it's one of the cheapest, most basic ones. I'll have a great one someday!) and so I don't have the blanket or applique stitch. After asking around a few places, it was down to using the blind hem stitch or a simple zigzag. I did a lot of experimenting, and chose the blind hem as it's most similar to the blanket stitch (instead of a zig or "arrow" going in, it's a straight, closed stitch) My settings are just over 1 for stitch length and a little over 3 on the size of zigzag.

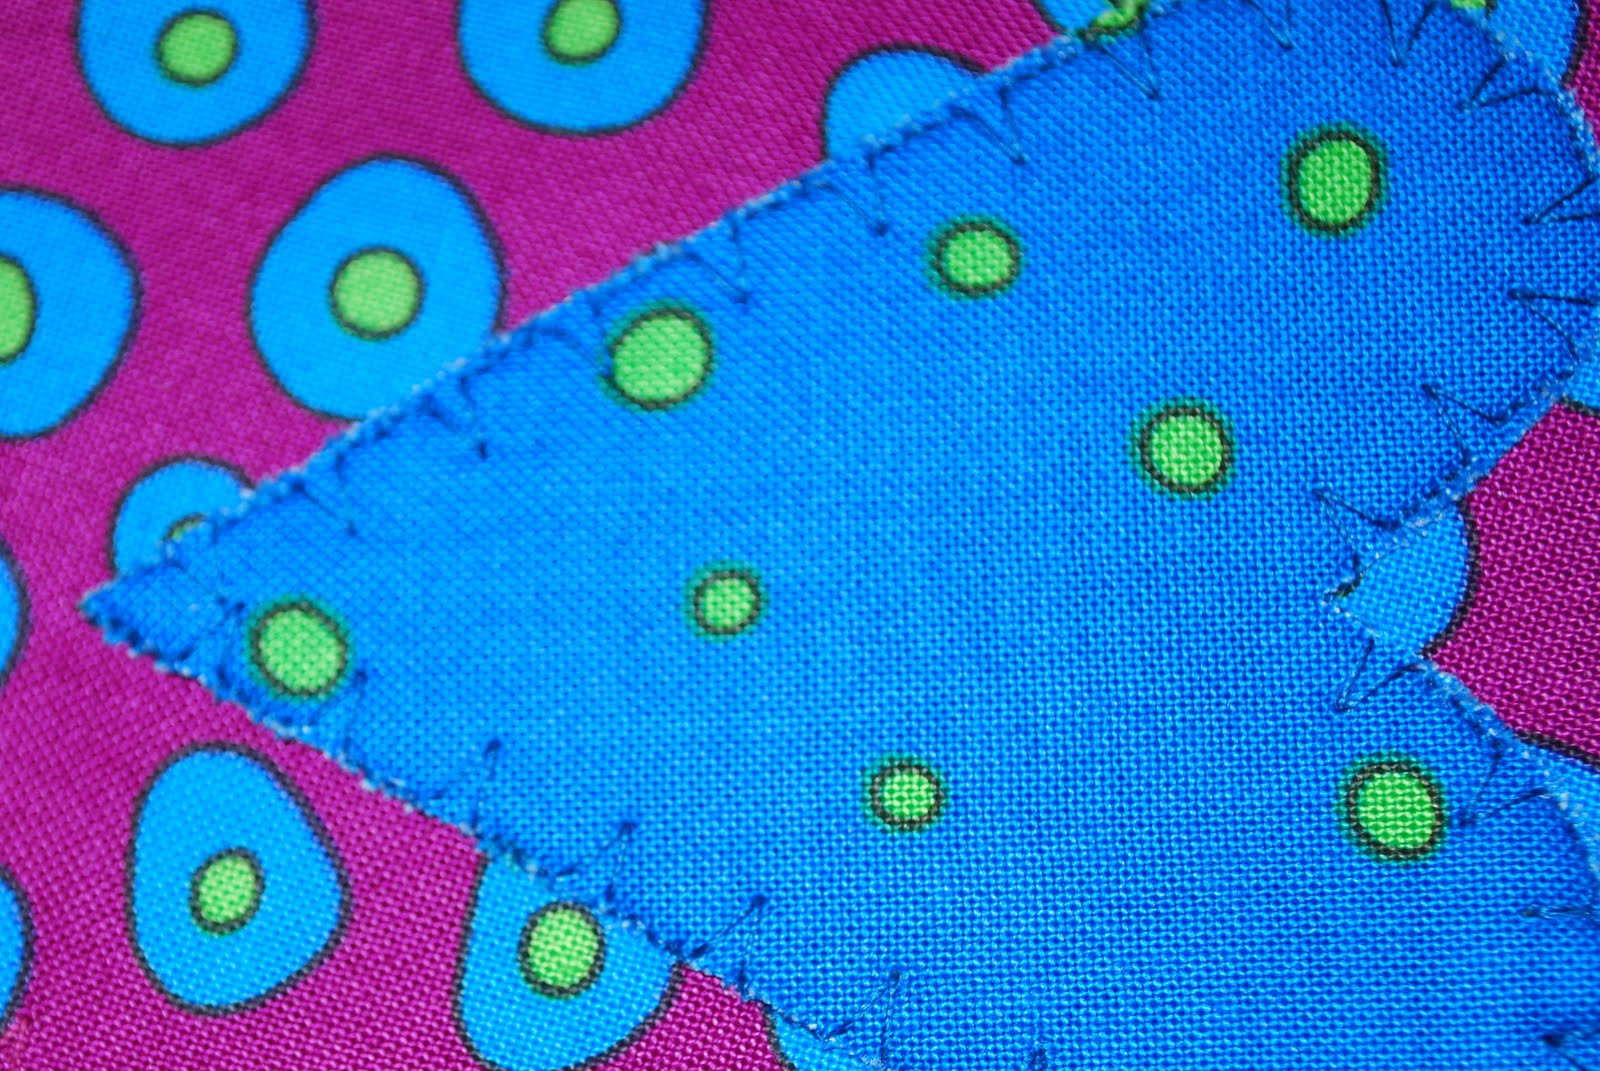
The biggest tip is to go slowly, and turn it by hand around the tight spots. I'm not perfect, but I am slowly improving on each piece I applique. Here's a close up of the heart so you can see what my stitch looks like.


As I work on each monster, I keep a ziploc bag handy, and keep all the little bits, fabric, pattern, etc. inside so I don't lose anything or get it confused. Simple idea, I'm sure, but one I'm happy to have thought of, as I tend to lose things and am very disorganized.

Sunday, February 6, 2011

Prepping applique pieces for a quilt

I'm going to document some of the steps in making up quilt blocks. I've never done it before, and my mom is coaching me over the phone and via webcam.

Once you have your fabric, pattern, and thread, you'll want to get this awesome stuff called "Wonder under". It's fusible on both sides and has a paper backing.

Trace your pattern (using a sunny window or a lightbox) onto the paper backing of the Wonder under. Here's the key-you have to turn your pattern so the back of the paper is facing you. You want to end up with your pattern looking exactly like it does, not a mirror image. I messed this up on the first monster, but in this case, it doesn't matter-he is just flipped the other way. In other quilts, this can be a big mistake! So flip your pattern over, lay the wonder under on top and trace onto the paper backing.

Now cut out your pieces, but don't bother cutting along the lines-once you add it to your fabric, you'll be cutting again, so just make rough cuts. Another big reminder-iron your wonder under pattern piece onto the wrong side of your fabric. Yep, I made that mistake too, and ironed it to the front.
Don't do this!

Once you have done this, your fabric piece will be unusable and you'll have to retrace the pattern piece onto a new piece of wonder under.

Do this!


So, iron your pattern pieces onto the wrong side of the fabric. Lift and place your iron-don't drag it! Leave it on each section for around 8 seconds. Cut out your pieces along the lines, and there you go! You have your applique pieces ready to go.
Mine aren't completely ready because I need some white for eyes and red for mouths, but you get the idea.

Month 1 Monster


Month 3 Monster
 

Blog Template by YummyLolly.com